This post is dedicated to the M271 Partial Load Ventilation Hose / Crankcase Breather Hose in the Mercedes-Benz W203 C200 Kompressor. This often overlooked but crucial component in engine operation vents excess pressure and prevents the escape of oil vapors. Symptoms of a cracked hose, such as oily deposits, are highlighted, and you’ll learn how to easily replace the three hoses. This blog post not only enables you to address issues but also provides a fundamental understanding of the functioning of this key component.
If you see yourself as a W203 enthusiast, I recommend the book “Mercedes C-Class W203 So wird’s gemacht” (“Mercedes C-Class W203 How it’s done”). It provides comprehensive instructions for the most common issues with the W203.
Signs of a Defective M271 Crankcase Breather Hose
A cracked Partial Load Ventilation Hose on the M271 manifests itself through various symptoms. Here are some signs to look out for:
- Unstable Idle: A clear sign of a defect.
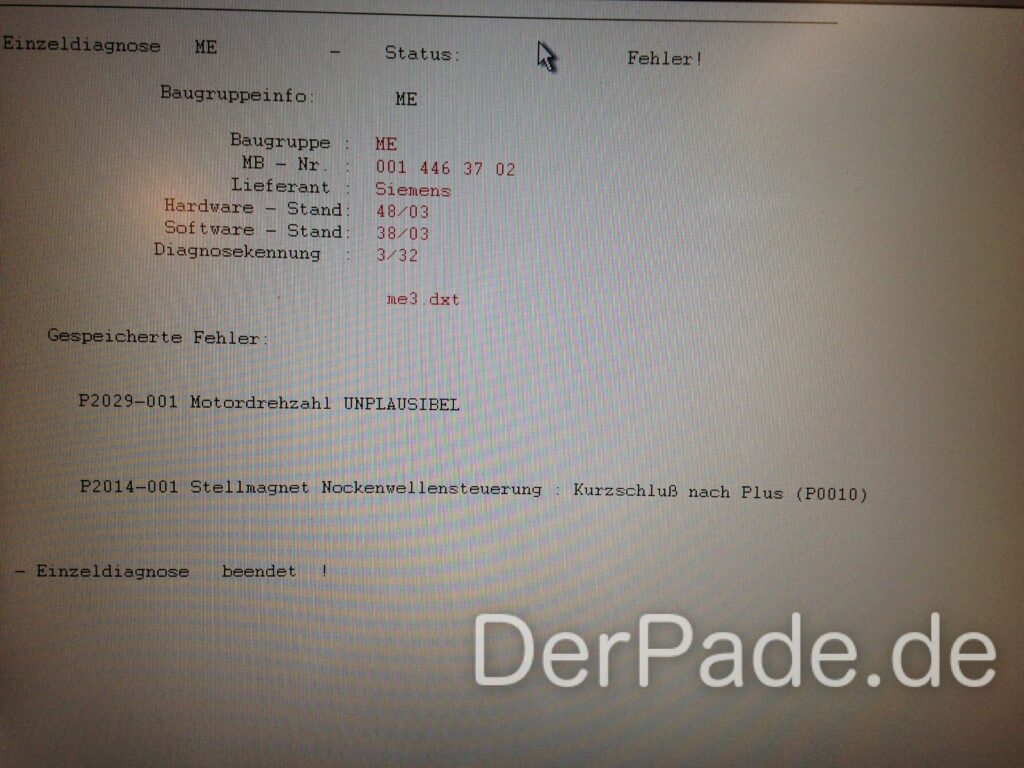
- OBD Fault Codes: The codes P2029-001 or P2029-002 may appear.
- Oil Sludge Formation: Between the air compressor and charge air compressor.
During a longer highway drive, my engine went into limp mode under full load. The later OBD fault code analysis revealed P2029, P0238, and P2014.
OBD2 Fault Code P2014
The OBD-2 fault code P2014, also known as “Camshaft Control Solenoid Short to Plus”, indicated that the camshaft sensor/camshaft solenoid was not signaling. Upon closer inspection, I found that the connectors were again soaked in oil, including the pins. I then cleaned the camshaft solenoid and cleared the faults.
Although the engine initially ran quite stably, I occasionally felt that it was struggling. However, after two days, I noticed that the idle became increasingly unstable. The engine was now trembling so strongly that it could be felt inside the cabin.
In addition, I heard a distinct hissing sound for about 1 to 2 seconds after turning off the engine.
OBD2 Fault Code P2029
If one of the two upper hoses of the Partial Load Ventilation tears, a portion of the boost pressure can escape through this tear. This only happens when there is overpressure in the intake tract. In conjunction with the tear, this leads to a slight loss of power and the occurrence of the OBD fault code P2029 (Mixture too lean/too rich).
In idle, however, a strong vacuum is created in the intake manifold, causing false air and other impurities to be sucked in through the crack into the intake manifold. Especially with a warm engine, this leads to a very unstable idle.
OBD2 Error P0238
Due to the escaping boost pressure directly in front of the intake manifold, the boost pressure sensor signals that the boost pressure is implausible. The boost pressure sensor is located in the intake manifold.
How to Change the M271 Crankcase Breather Hose
Honestly, you have no choice but to inspect the three hoses more closely. I also tried the common trick with brake cleaner1. Here, the cleaner is sprayed between the air filter box and the compressor (as well as between the compressor and the engine block), while observing the engine speed. If this fluctuates, it indicates a possible crack. If the engine shows no reaction (as in my case), take a look under the air filter box and the compressor. If you find a lot of fresh oil there, this could indicate a torn hose.
This method is an effective way to detect early signs of a defect. Regular checks with this simple trick can help identify potential problems early on and prevent major damage.
Part Numbers for Ventilation Hoses
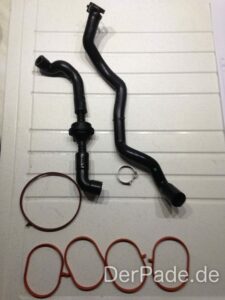
The partial load ventilation hoses:
- No 122 (The upper hose): A271 018 12 82
- No 120 (The middle small hose): A271 018 15 82
- No 107 (The lower hose): A271 018 14 82
The partial load ventilation valve has the number No 113: A271 018 03 29.
And please replace all three hoses and the valve right away, as the work involved is not proportional to the costs you incur.
Overview of the Disassembly
To access the partial load ventilation, the following parts must be removed:
- Remove the air filter box
- Loosen the noise damper in front of the belt drive
- Remove the serpentine belt
- Remove the intake manifold and throttle body
- Remove the Eaton M65 supercharger
In my guide to changing the pulley and oil of the compressor, I have already described how to remove the compressor in the M271.
The Removal of the Compressor
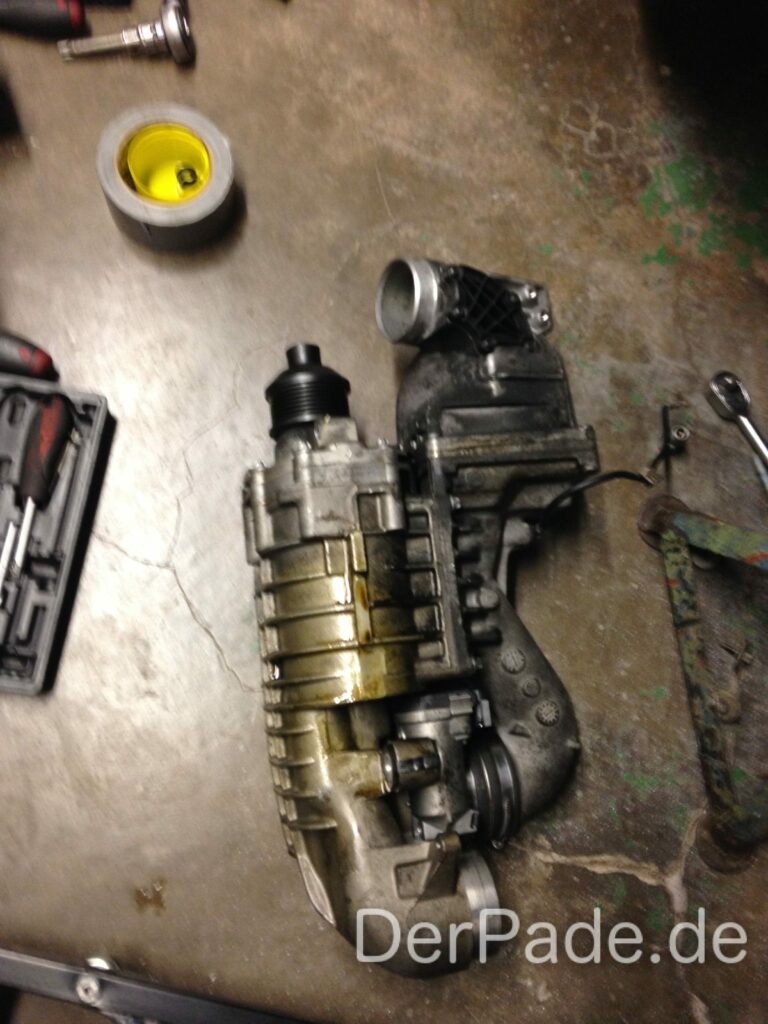
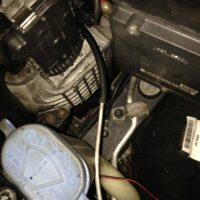
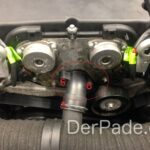
Picture 1: This picture provides a clear view of the underside of the compressor. Clearly visible fresh oil drops testify to a less than optimal state of my engine compartment. After removing the compressor, the lower M271 partial load ventilation hose should be visible.
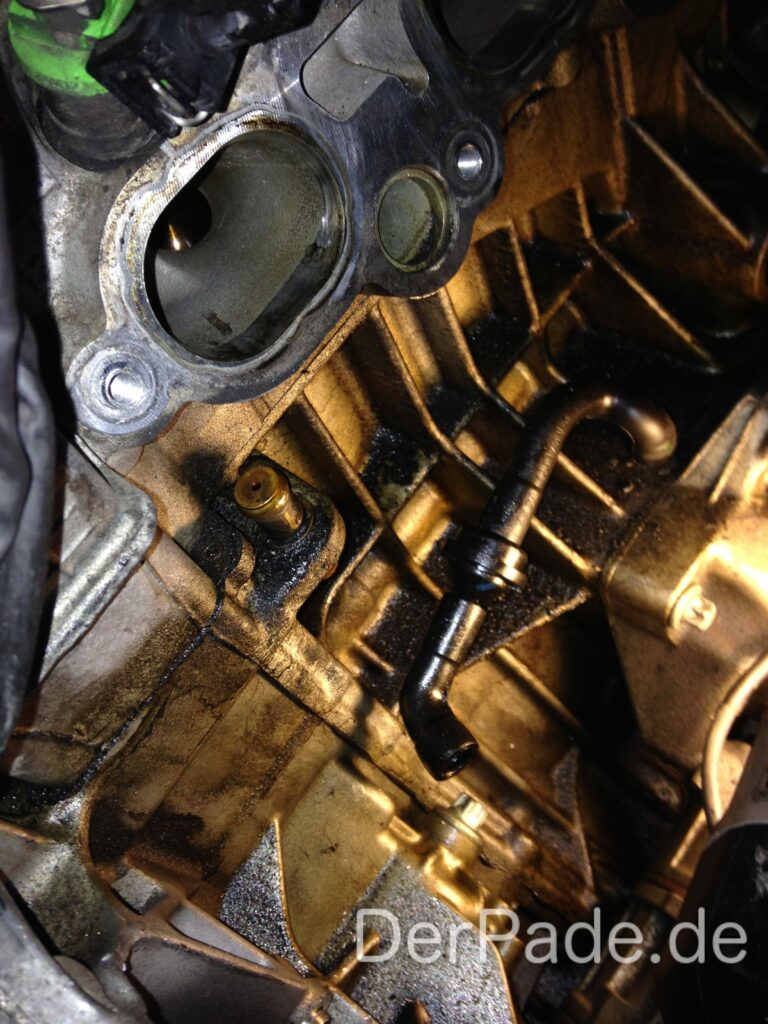
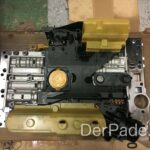
Picture 2: Directly above the air conditioning compressor, a three-part hose with a valve and reducer is firmly attached to the engine block. This hose forms the entire partial load ventilation. An oily area around this hose indicates a torn hose, as the overpressure in the crankcase spreads the oil mist inside the engine compartment.
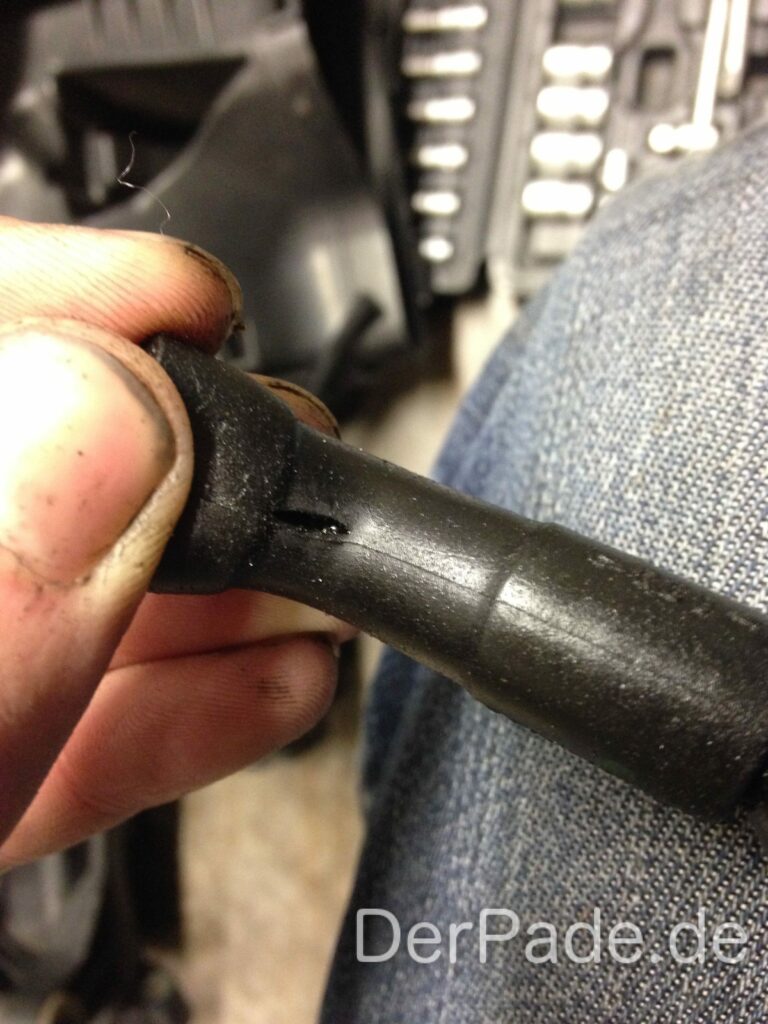
Picture 3: Here, the torn spot on my hose is visible. It is the smallest of the three hoses, right in front of the valve.
Seals for the Throttle Body and Intake Manifold
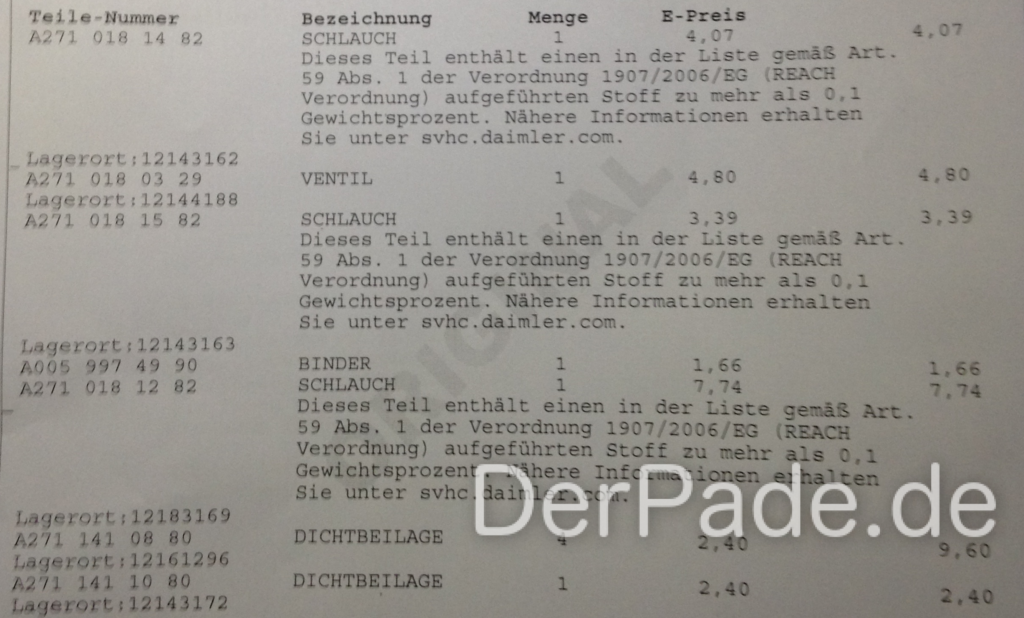
And if you already have everything apart, I just replaced the seals on the intake manifold as well as on the throttle body. The material costs totaled 40.06€ (see excerpt from the invoice).
The part numbers:
- Four seals of the intake manifold: A271 141 08 80
- Seal on the throttle body: A271 141 10 80
OBD2 Error P0171
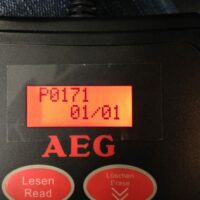
This error code, “Lean Air/Fuel Mixture” (P0171), can lead to ongoing issues after assembly. Despite improved acceleration, the idle remained unstable. This led to the check engine light (MIL) coming back on. The OBD2 error readout showed the P0171 error.
A quick look under the hood revealed the cause – the white vacuum hose was not properly placed. This hose, leading to the fender and attached to the black vacuum hose running to the intake manifold.
- Important Note: When using brake cleaner, be sure to follow safety and environmental regulations. Use the product responsibly and maintain a sufficient distance from heat sources or sparks to minimize potential fire hazards. ↩︎





Hello Sir,
I have also similar problem over 2 years. But it was happening mostly when wheatet is under 10 degree and engine goes from cold to hot idle. Recently, I cleaned up throttle body, It was quite dirty and now throttle have better response about throttle control.
But today I got again idle speed issue. I went to gas station and Engine was cold about 30 degree C. After top up fuel, I run the engien and idle speed oscilated for couple of seconds (I guess it was at transition phase) then back to normal. After engine heat up idle speed quite good. So, I check the diagnostic wit MB I carsoft tool. Only the error was P2029-001. I deleted and it did not come again. To make sure about hose crack, I check with brake fluids and also with throttle valve cleaner. But idle speed is quite stable in idle. I think hoses are ok, because when engine heats up this issue is not happening. I also have new maf sensor and do not read any sensor electrical or plausibility issue on lambda.
I am suspecting on spark plugs efficiency. During cold engine and partial load motor makes retarded combustion to heat up threeway catalyst. If combustion is not efficient It can cause too rich micture at lambda and injection system cuts off the fuell and it may cause idle oscilation.
My question to you, during having this issue, are your spark plugs was fresh? I appreciate your comments. Thank you.