Introduction
In this guide, I’ll walk you through the process of replacing the thermostat in the W203 with M271 engine – and it’s quick and easy.
Symptoms of a Faulty Thermostat
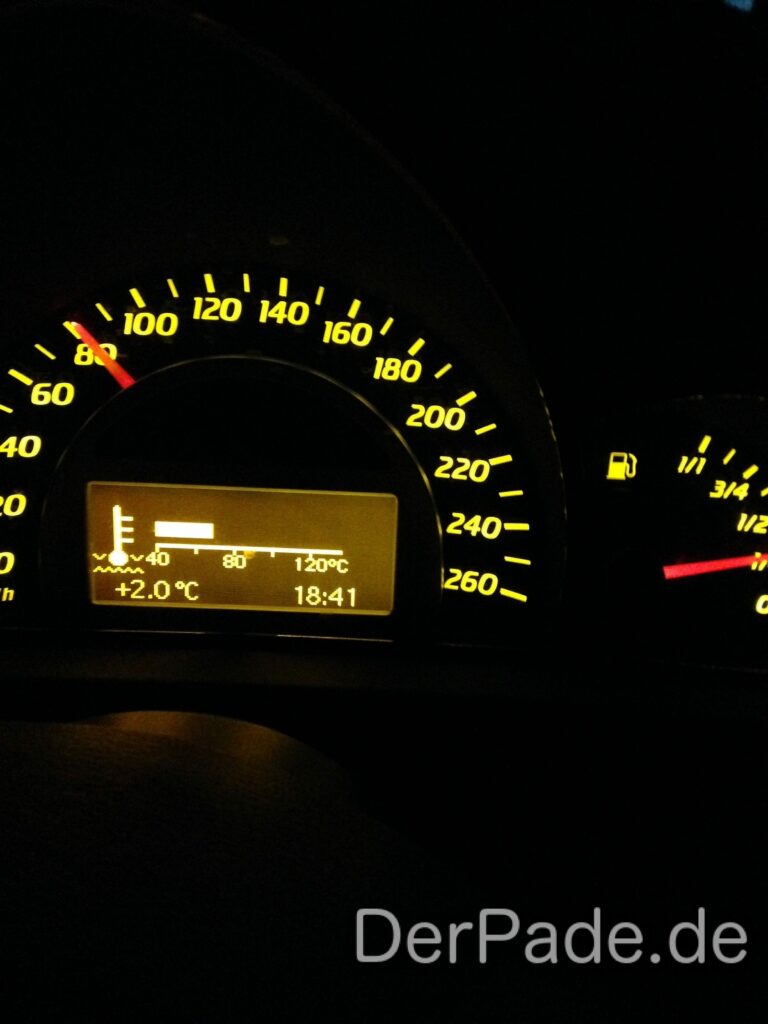
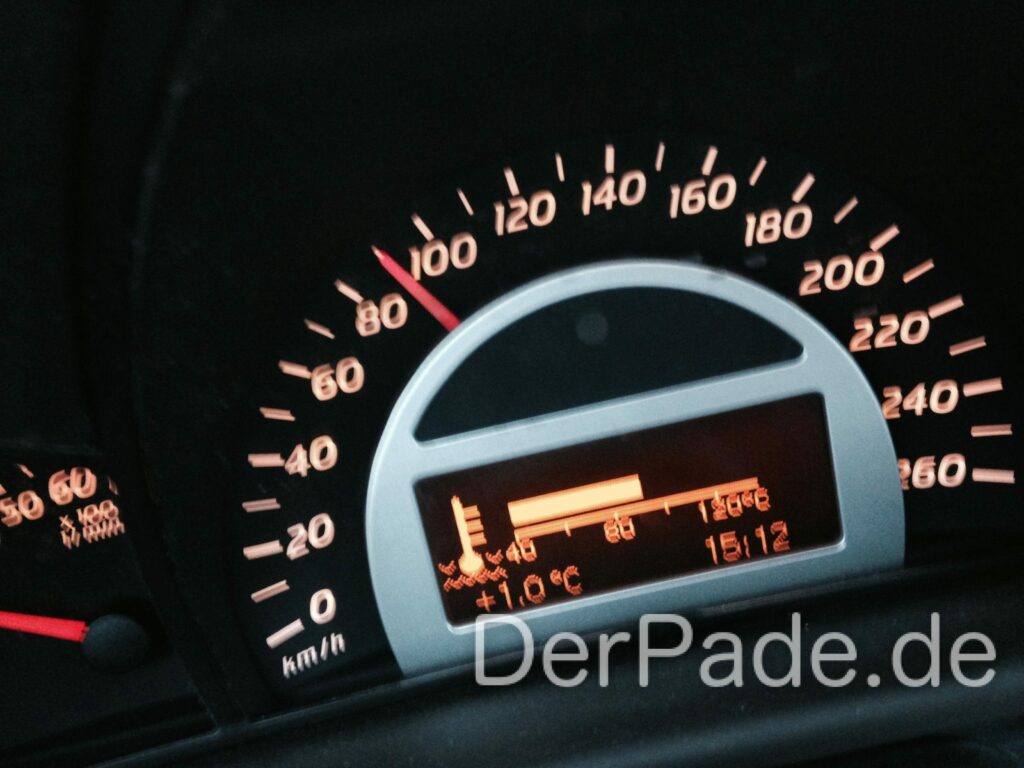
Thermostats are wear-and-tear components! Many drivers continue to operate their vehicles with faulty thermostats. This becomes noticeable, especially in winter when the engine no longer reaches its operating temperature. In my case, my W203 C200 Kompressor only reached 70°C, and that was it. Occasionally, it would reach 80°C at idle, but even that was too far from the usual 90°C. So, a new thermostat was needed. Since I couldn’t find an illustrated guide on the internet, I decided to create one myself, documenting everything to the best of my knowledge.
Don’t take a faulty thermostat lightly. After all, driving with a consistently cold (depending on the degree of the defect) engine can lead to increased wear and higher fuel consumption.
You can purchase the thermostat for the M271 engine in the W203, for example, on Amazon.
Guide
Removing the Thermostat
- Remove the underbody protection: Unscrew the six 8mm screws for this.
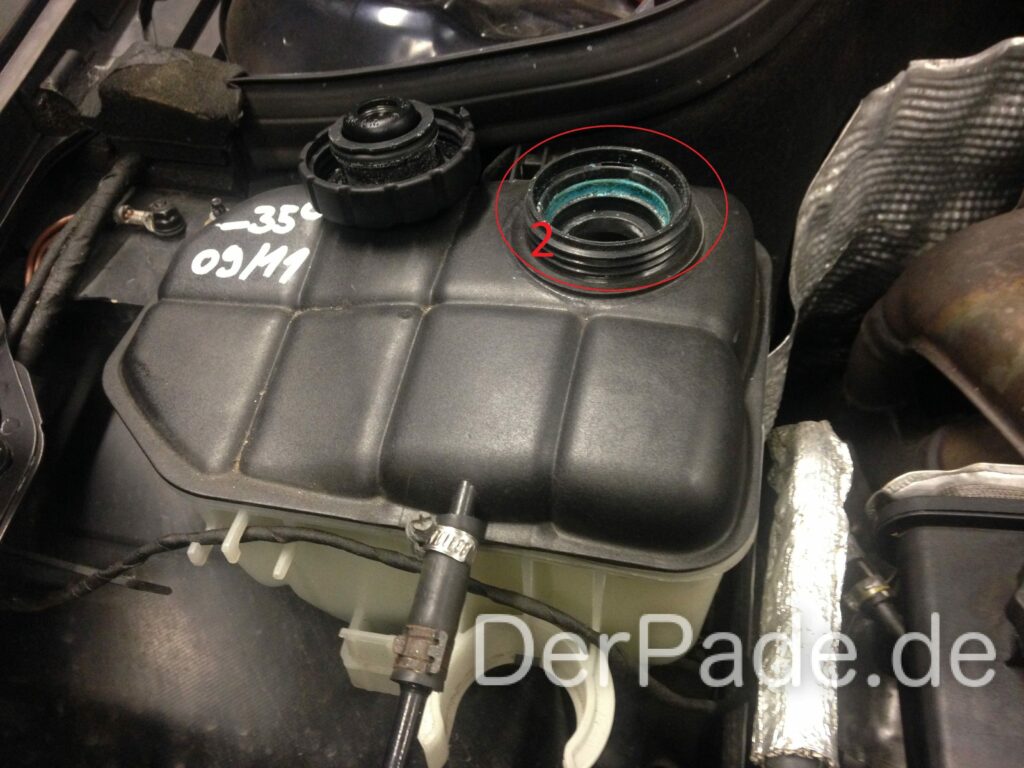
- Unscrew the cover of the coolant reservoir and set it aside.
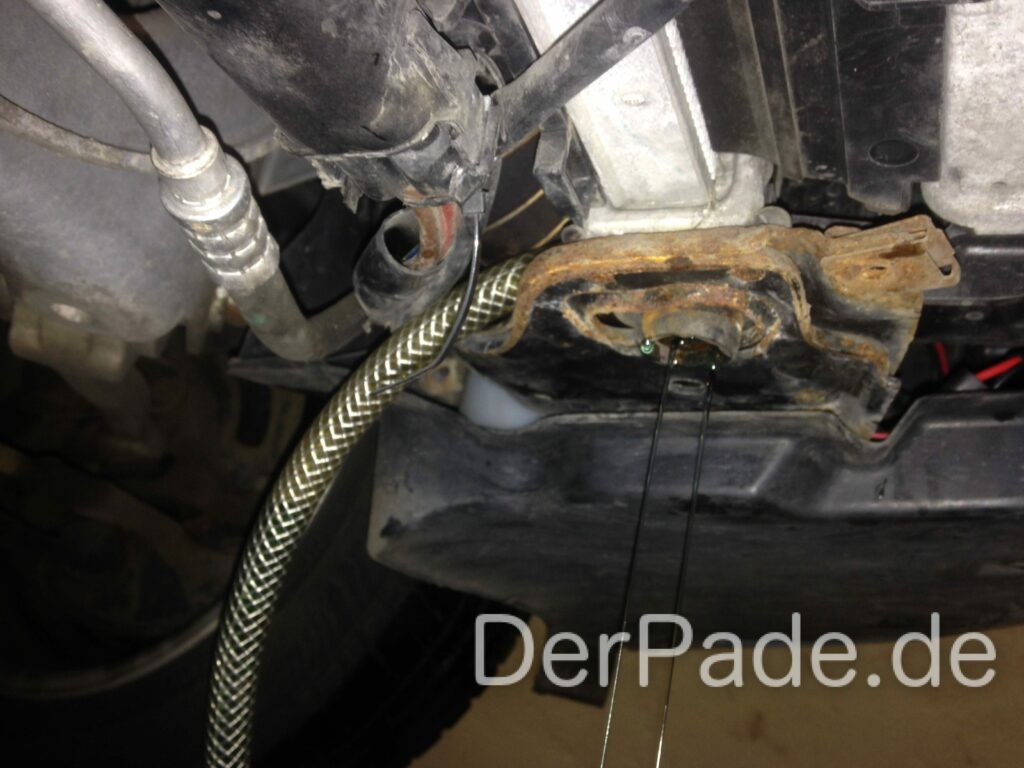
- Drain the coolant: Attach the hose to the drain nozzle located directly above the red coolant drain screw. Then, drain the coolant by turning the red drain screw until the coolant flows out of the hose.
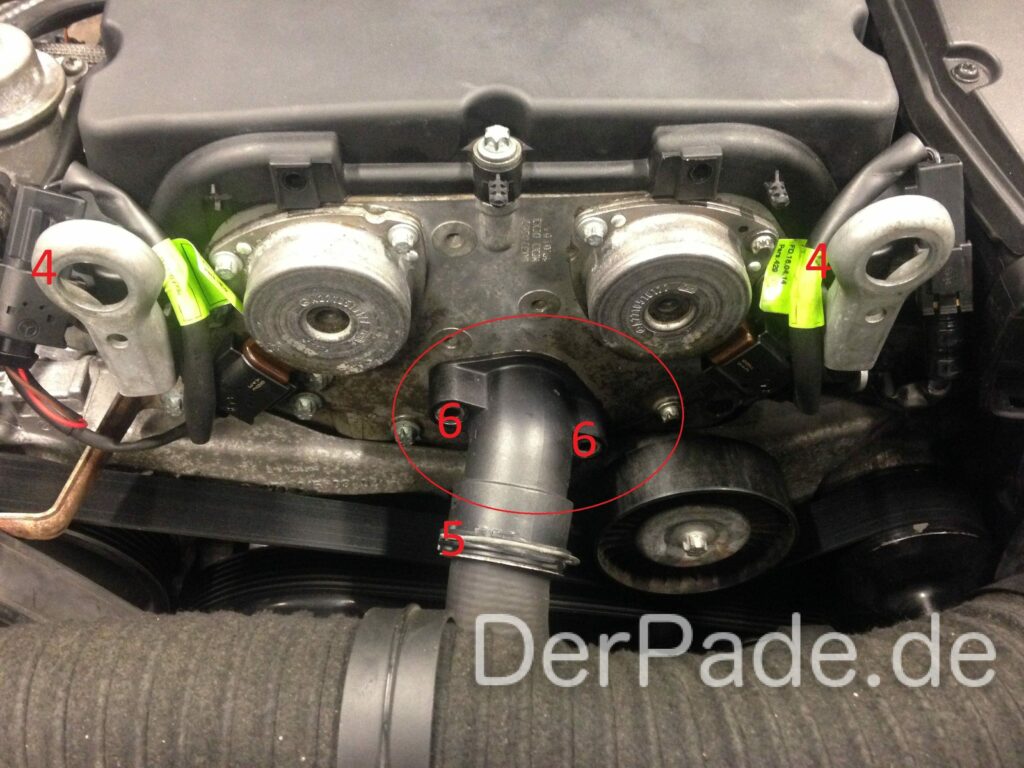
- Remove the cover above the camshaft adjuster magnets; this is done simply by pulling.
- After the water has been completely drained, release the clamp on the front end of the connector and remove the hose.
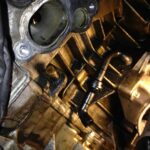
- Now, loosen the two Torx screws on the front end and pull out the connector. This is the most challenging part of the entire process, as pulling it out is not very easy.
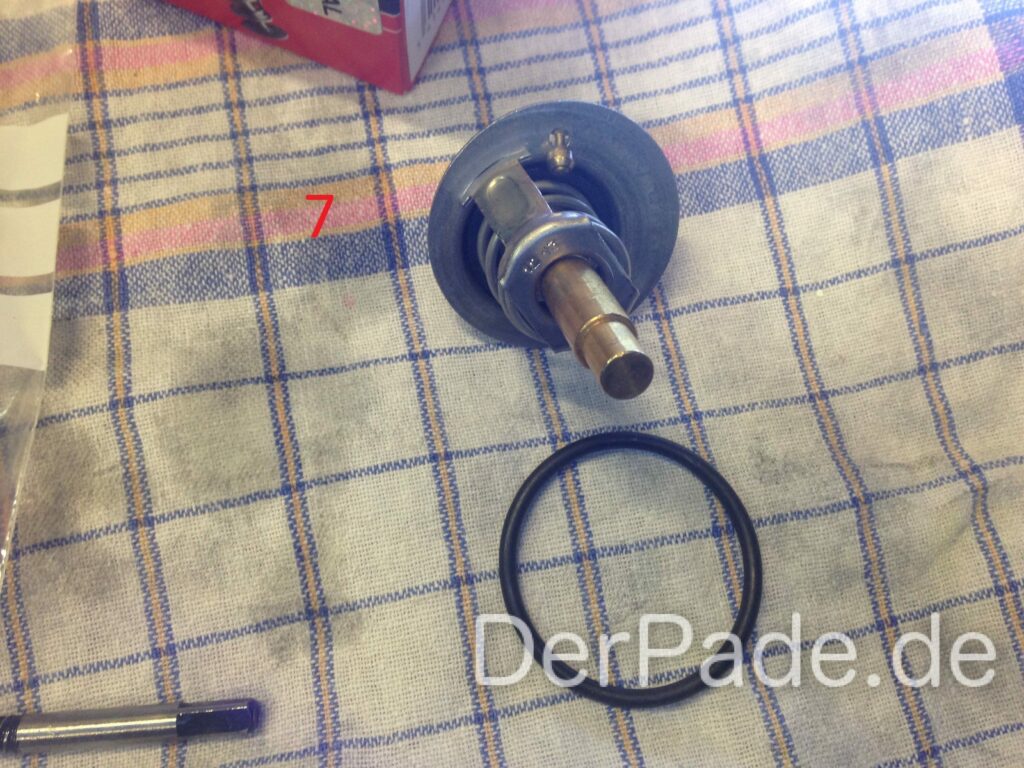
- After pulling out the connector, you can replace the thermostat and the two gaskets. The thermostat can only be inserted in one direction; if it’s not securely seated on the connector, you’ve done something wrong. The long end goes into the engine block, and the two clips on the thermostat snap into the connector.
- After that, you can insert the connector again, close the drain screw, and refill the coolant (this would be a good opportunity to flush everything and refill the system).
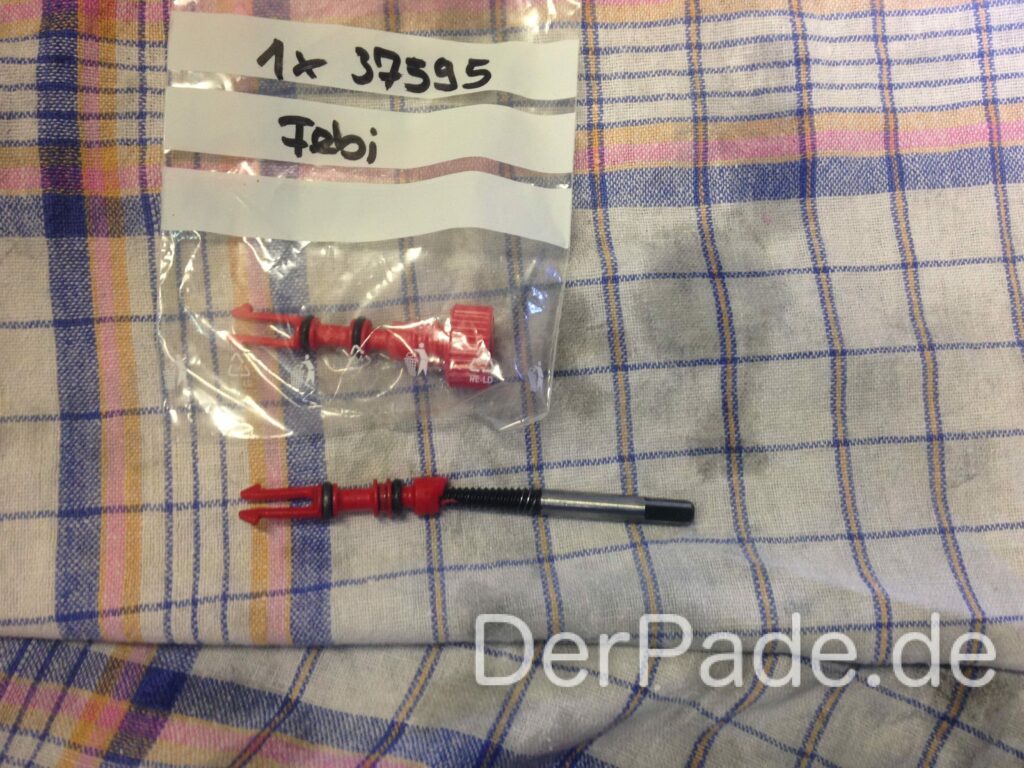
- (Optional) Change the drain screw on the radiator: Unfortunately, the drain screw on the radiator was also broken in my case. Replacing it is quite simple; getting the pieces out of the radiator is the tricky part.
Venting the Cooling System
- By pressing on the coolant hose, you can remove a lot of air from the system. So keep pressing until you can no longer hear any air in the system.
- Now start the engine and set the heater to maximum, making sure the heater is not set to auto-mode.
- After the first test drive, check the coolant level and top up if necessary.

